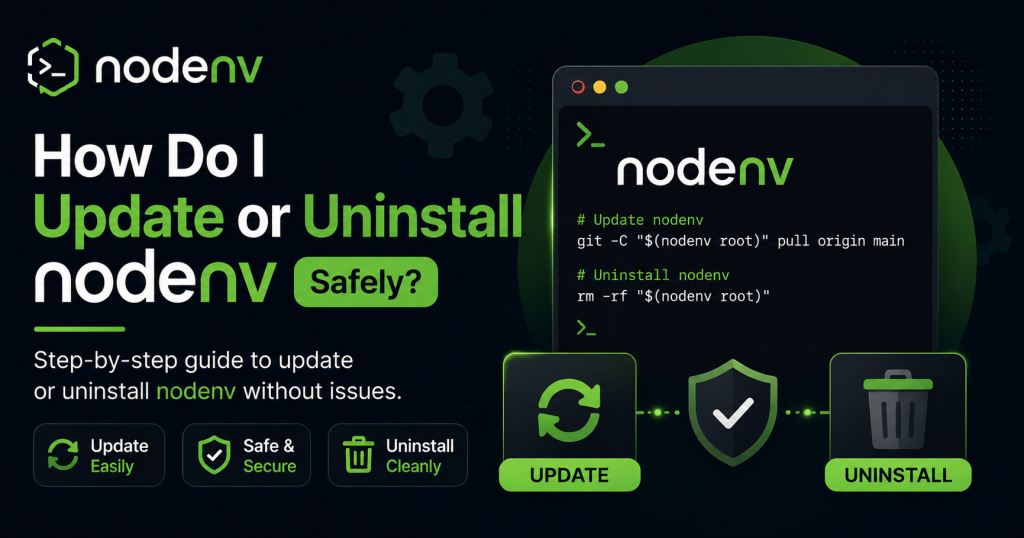
Keeping nodenv up to date or removing it properly is essential for maintaining a stable and reliable Node.js development environment. Whether you’re upgrading to access the latest features, fixing compatibility issues, or switching to a different version manager, following the correct steps helps prevent broken configurations and unexpected errors. An improper update or uninstall can leave outdated files, incorrect PATH settings, or inactive shims that may interfere with your projects.
Fortunately, updating or uninstalling nodenv is straightforward when you use the appropriate method based on how it was installed. In this guide, you’ll learn how to update or uninstall nodenv safely, clean up any remaining configuration files, and verify that everything is working correctly, ensuring a smooth and hassle-free development experience.
Read More: What Does the nodenv rehash Command Do?
What Is nodenv?
nodenv is a lightweight Node.js version manager that lets you install and switch between multiple Node.js versions on the same machine. Instead of using one global Node.js installation, nodenv allows you to define a version for each project or use a default version across your system.
Developers commonly use nodenv because it:
- Manages multiple Node.js versions easily.
- Keeps project environments isolated.
- Prevents version conflicts.
- Works well with npm and Yarn.
- Requires minimal system resources.
Why Should You Update nodenv?
Like any development tool, nodenv receives updates that improve performance and compatibility. Updating ensures you have the latest fixes and features.
Benefits of updating nodenv include:
- Better compatibility with newer Node.js releases.
- Bug fixes for known issues.
- Improved plugin support.
- Security improvements.
- Better performance and stability.
If you’re installing a new Node.js version and nodenv isn’t detecting it correctly, updating the tool is often the first solution.
Check Your Current nodenv Version
Before updating, verify the version currently installed.
nodenv --versionYou can also confirm its location.
which nodenvOn Windows (WSL):
whereis nodenvKnowing how nodenv was installed helps determine the safest update method.
How to Update nodenv Safely
The update process depends on how you originally installed nodenv.
Update nodenv Using Homebrew (macOS)
If you installed nodenv using Homebrew, updating is simple.
brew updateThen upgrade nodenv.
brew upgrade nodenvFinally, verify the update.
nodenv --versionThis is the recommended approach for Homebrew users.
Update nodenv Installed from GitHub
If you cloned nodenv from GitHub, navigate to its installation directory.
cd ~/.nodenvPull the latest changes.
git pullIf you use plugins, update them as well.
Example:
cd ~/.nodenv/plugins/node-build
git pull
Restart your terminal after updating.
Update node-build Plugin
Many users forget that node-build is separate from nodenv.
Without updating node-build, you may not see the latest Node.js releases.
Navigate to the plugin folder.
cd ~/.nodenv/plugins/node-buildThen update it.
git pullNow refresh nodenv.
nodenv rehashRefresh nodenv
After updating, rebuild shims.
nodenv rehashThen verify everything works.
node -vYou can also list installed versions.
nodenv versionsHow to Uninstall nodenv Safely
If you no longer need nodenv, uninstall it carefully to avoid leaving broken shell settings.
The process depends on how it was installed.
Uninstall nodenv Installed with Homebrew
Simply remove it.
brew uninstall nodenvIf you no longer need node-build:
brew uninstall node-buildThen remove remaining configuration files if desired.
Uninstall Git-Based Installation
Delete the nodenv directory.
rm -rf ~/.nodenvIf plugins exist:
rm -rf ~/.nodenv/pluginsThis removes the program completely.
Remove Shell Configuration
Open your shell configuration file.
Examples include:
~/.bashrcor
~/.zshrcRemove lines similar to:
export PATH="$HOME/.nodenv/bin:$PATH"
eval "$(nodenv init -)"
Save the file and reload it.
source ~/.bashrcor
source ~/.zshrcVerify nodenv Is Removed
Check if the command still exists.
nodenv --versionIf you receive:
command not foundThe uninstall was successful.
Remove Installed Node.js Versions (Optional)
If you no longer need the Node.js versions managed by nodenv, delete them.
rm -rf ~/.nodenv/versionsOnly do this if you are sure those versions are no longer required.
Install Another Version Manager (Optional)
After uninstalling nodenv, many developers switch to alternatives such as:
- nvm
- Volta
- fnm
- asdf
Each offers different features depending on your workflow.
Common Problems After Updating nodenv
Sometimes updating doesn’t solve everything immediately.
nodenv Command Not Found
This usually means your PATH is incorrect.
Verify:
echo $PATHMake sure nodenv’s directory is included.
New Node.js Versions Don’t Appear
Update node-build.
git pullThen run:
nodenv rehashWrong Node Version Still Active
Refresh your shell.
exec "$SHELL"Or reopen the terminal.
Then check:
nodenv versionPermission Errors
Avoid installing nodenv with sudo.
Instead, install it inside your user directory.
If permissions become corrupted, correct ownership.
sudo chown -R $(whoami) ~/.nodenvBest Practices Before Updating or Removing nodenv
Following a few simple practices helps prevent issues.
- Back up important projects.
- Note your installed Node.js versions.
- Update plugins alongside nodenv.
- Rebuild shims after every update.
- Restart your terminal after changes.
- Remove shell configuration when uninstalling.
- Verify the installation afterward.
These steps help ensure a smooth transition with minimal disruption.
Conclusion
Updating or uninstalling nodenv safely is an important part of maintaining a clean and efficient Node.js development environment. By using the correct update method, refreshing shims, and removing configuration files when uninstalling, you can avoid common issues such as version conflicts or broken PATH settings. Whether you’re keeping nodenv up to date or switching to another version manager, following the proper steps ensures a smooth transition and helps your projects continue running without interruption.